PVC union fittings are essential for creating detachable pipe connections. They allow easy maintenance, repair, or replacement of sections without cutting the pipe. Installing a union fitting correctly ensures a leak-free and reliable plumbing system.
Understanding PVC Union Fitting
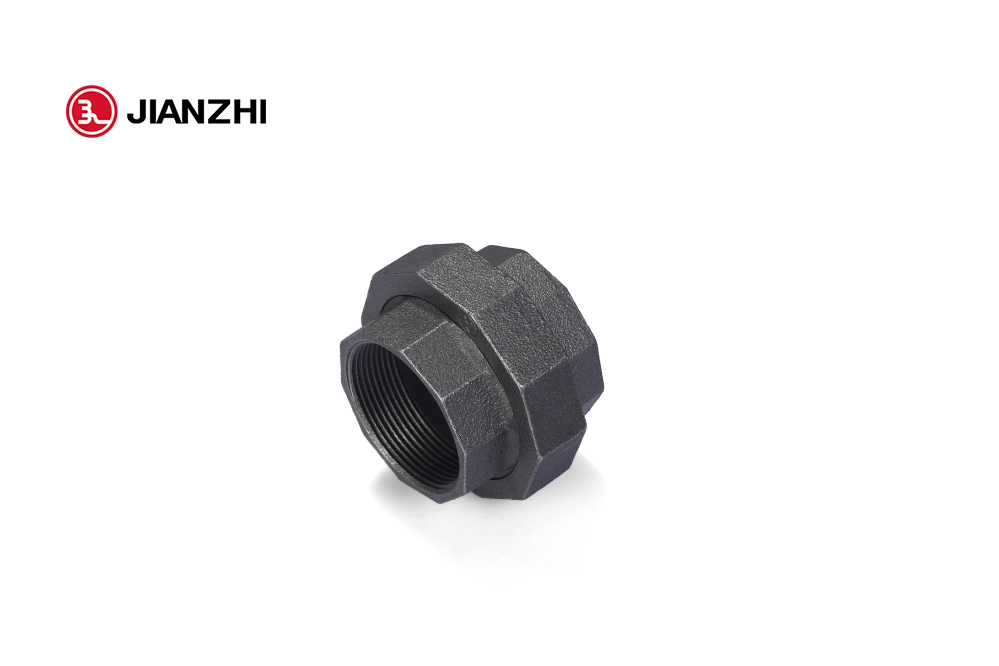
A PVC union fitting consists of three parts: two end connectors and a central nut. The nut tightens the connection and holds the pipes together. Union fittings are ideal for systems that require frequent disassembly or inspection. They are available in various sizes to fit different pipe diameters.
Tools and Materials Needed
To install a union fitting, you need PVC pipes, the union fitting, primer, cement, a measuring tape, and a marker. Safety gloves and eye protection are recommended. Using the right tools ensures proper alignment and secure sealing.
Planning Your PVC System
Plan the pipe layout carefully before installation. Mark the locations where union fittings will be installed. Ensure fittings are easily accessible for future maintenance. Proper planning reduces installation errors and improves system efficiency.
Cutting and Preparing Pipes
Cut PVC pipes squarely using a pipe cutter or saw. Remove burrs and rough edges with a deburring tool or sandpaper. Clean the pipe ends to remove dirt and grease. Proper preparation ensures a tight and leak-proof connection with the union fitting.
Table 1: Recommended Pipe Preparation Steps
| Step | Action | Purpose |
|---|---|---|
| 1 | Measure and mark | Ensure correct pipe length |
| 2 | Cut squarely | Prevent gaps and leaks |
| 3 | Deburr and clean | Improve cement adhesion |
Priming and Cementing
Apply PVC primer to the pipe ends and the union fitting sockets. Allow it to dry briefly, then apply PVC cement evenly. Insert the pipe into the fitting quickly before the cement sets. Proper primer and cement application ensures a durable and leak-free joint.
Assembling the Union Fitting
Insert both pipe ends into the fitting sockets. Align the pipes properly and hand-tighten the central nut. Ensure the nut is snug but not over-tightened, which can crack the fitting. Verify the alignment to prevent stress on the pipes.
Table 2: Torque Guidelines for Union Fittings
| Pipe Size | Tightening Torque | Notes |
|---|---|---|
| 1/2″ | Hand tight | Do not overtighten |
| 3/4″ | Hand tight | Check for proper alignment |
| 1″ | Hand tight | Ensure no stress on pipes |
Testing the System
After assembly, allow the cement to cure as per manufacturer instructions. Turn on the water supply and check for leaks at all union fittings. If a leak appears, slightly tighten the nut or reapply cement if necessary. Testing ensures reliability before full operation.
Maintenance Tips
Union fittings allow easy disassembly for maintenance or repairs. Regularly inspect the fittings for cracks, wear, or leaks. Keep the nut clean and free from debris to prevent loosening. Proper maintenance prolongs the life of the PVC system and the union fittings.
Table 3: Maintenance Schedule
| Task | Frequency | Purpose |
|---|---|---|
| Inspect union fitting | Every 6 months | Prevent leaks and cracks |
| Clean central nut | Every year | Ensure easy disassembly |
| Check pipe alignment | During service | Reduce stress on joints |
Common Mistakes to Avoid
Do not overtighten the central nut, as it can crack the fitting. Avoid misaligning pipes before cement sets, which causes leaks. Never skip priming, as it reduces cement adhesion and joint strength. Following correct installation steps prevents failures and ensures a long-lasting system.
Summary
Installing a PVC union fitting requires careful planning, precise cutting, proper priming, and correct assembly. Testing and maintenance ensure a reliable and leak-free connection. Using these steps guarantees a durable plumbing system that allows easy future repairs and inspection.